Introduction
Windows 11 is the most recent operating system created by Microsoft and aims at providing a new, smooth, fast, and ergonomic experience. Upgrading to Windows 11 is beneficial on top of having access to the better features on offer, but also on security and updates.
Table of Contents
Why Upgrade to Windows 11?
- It increases performance and efficiency in the organization’s operation.
- Skin is changed to enhance usability with layout.
- Aescmatic security features for new age security threats.
System Requirements to install Windows 11
Before installation, verify your PC meets these criteria:
- Processor: 1 GHz or faster with at least 2 cores on a compatible 64-bit processor.
- RAM: 4 GB or more.
- Storage: 80 GB or larger.
- System Firmware: UEFI, Secure Boot capable.
- TPM: Trusted Platform Module (TPM) version 2.0.
- Graphics Card: Compatible with DirectX 12 or later with a WDDM 2.0 driver.
- Display: High-definition (720p) display, 9” or larger.
Overview of the Installation Process
Installing Windows 11 Blend includes checking for compatibility of your computer system, creating installation media, and learning how to work with your newly installed Windows 11.
Step 1: Check System Compatibility
It is very important that your system is ready before the installation begins so as to guarantee that all the needs of the system will be met.
Minimum Hardware Requirements
Check by consulting with Microsoft’s architecture manual to ascertain compatibility.
Health Check Tool the PC
You can download the tool from the website of Microsoft.
Use the program to get an assessment of the compatibility of your system.
Such as enacting Boot Secure or TPM 2.0 on the BIOS.
Handling Unsupported Devices
Windows 11 is yet to be officially released for the general public, so if your device does not meet all the requirements, there is a method of installation bypass, but this is discouraged for better performance.
Step 2: Back Up Your Data
It is crucial to backup all crucial files a person has before making any alterations to the computer.
Why Data Backup is Essential
Updates sometimes lead to the loss of data in the system. As you may already know, backups protect your files, apps, and settings.
Backup Options
External Drives: Examples of these are USB flash drives and external hard disks.
Cloud Storage: For cloud storage, you can use OneDrive, Google Drive, or Dropbox and assure that you are secure.
Verifying Your Backup
This is to make sure that all files or folders are backed up as supposed to, after one has made the backup.
Step 3: Download Windows 11 Installation Media
Microsoft offers several ways to get Windows 11.
Official Download Sources
Visit the Microsoft Download Page.
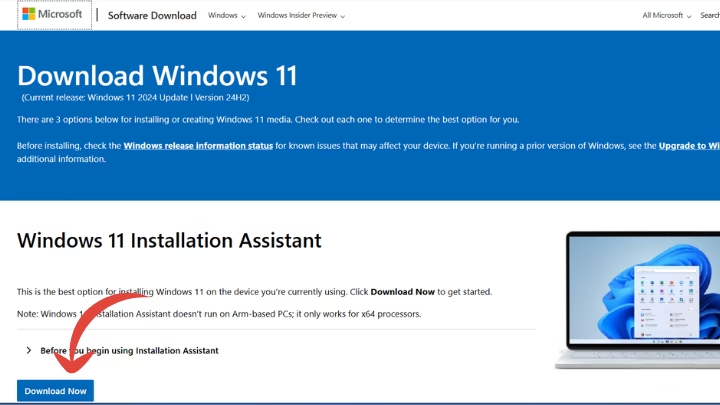
Options to Obtain Windows 11
- Windows Update: Automatic upgrade for eligible devices.
- Media Creation Tool: Download and create bootable media.
- ISO File: Useful for manual installations.
Step 4: Create a Bootable USB Drive (Optional)
An example is a bootable USB, which is useful for clean installments or any unsupported systems.
Required Tools
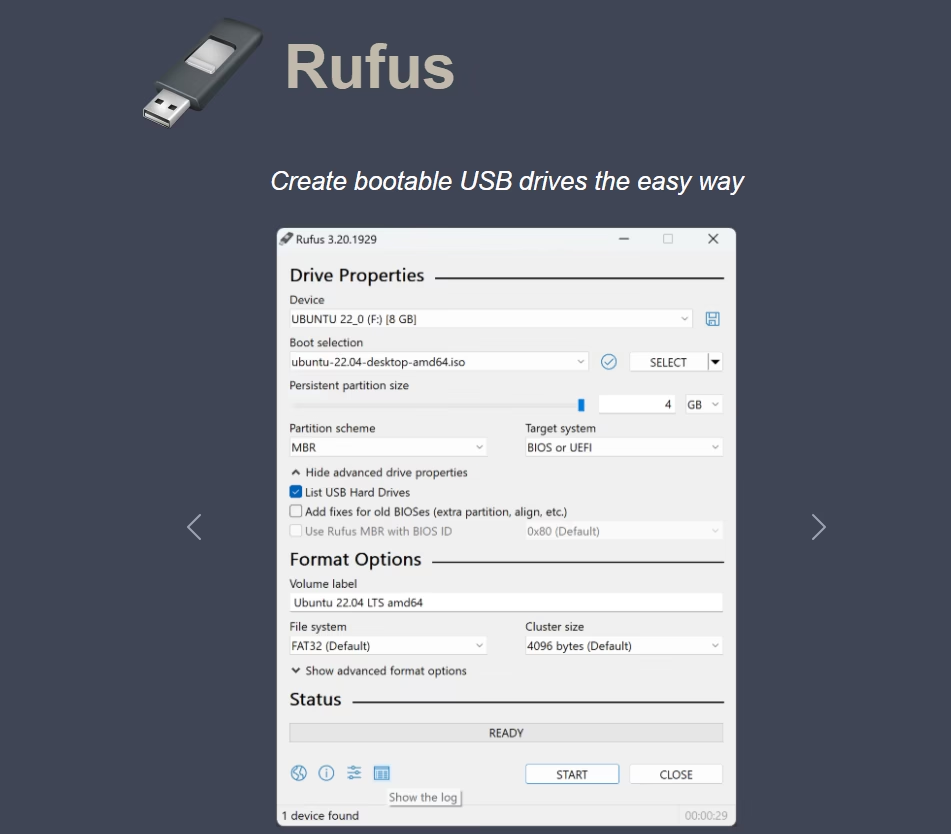
Rufus: Rufus is one of the most used for booting from USB drives.
Microsoft Media Creation Tool: Official alternative.
Steps to Create Bootable Media
- Download and launch your chosen tool.
- Select the Windows 11 ISO file.
- Configure the USB drive settings and start the process.
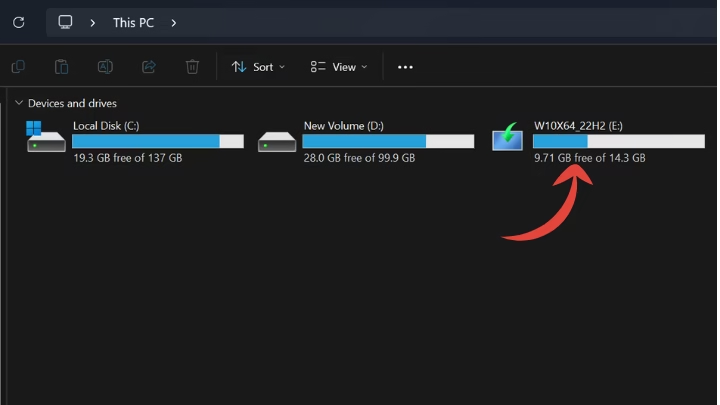
Testing the Bootable USB
Try and plug in the USB drive into your system and try to boot with it to be sure everything is functioning properly.
Step 5: Begin Installation Process
When it does, go ahead and install Windows 11.
Different laptops and PCs have unique boot keys to access the boot menu during startup. Common boot keys include F12 for Dell, F9 for HP, F2 or ESC for ASUS, and F10 or Delete for Acer.
Booting from USB or Starting the Upgrade
- Plug the bootable USB and reboot your system.
- Entering BIOS/UEFI and select the USB drive with boot device.
Installation Options
- Upgrade: Upgrade your files and settings.
- Clean Install: The option would be to delete all data stored in the phone to make it new again.
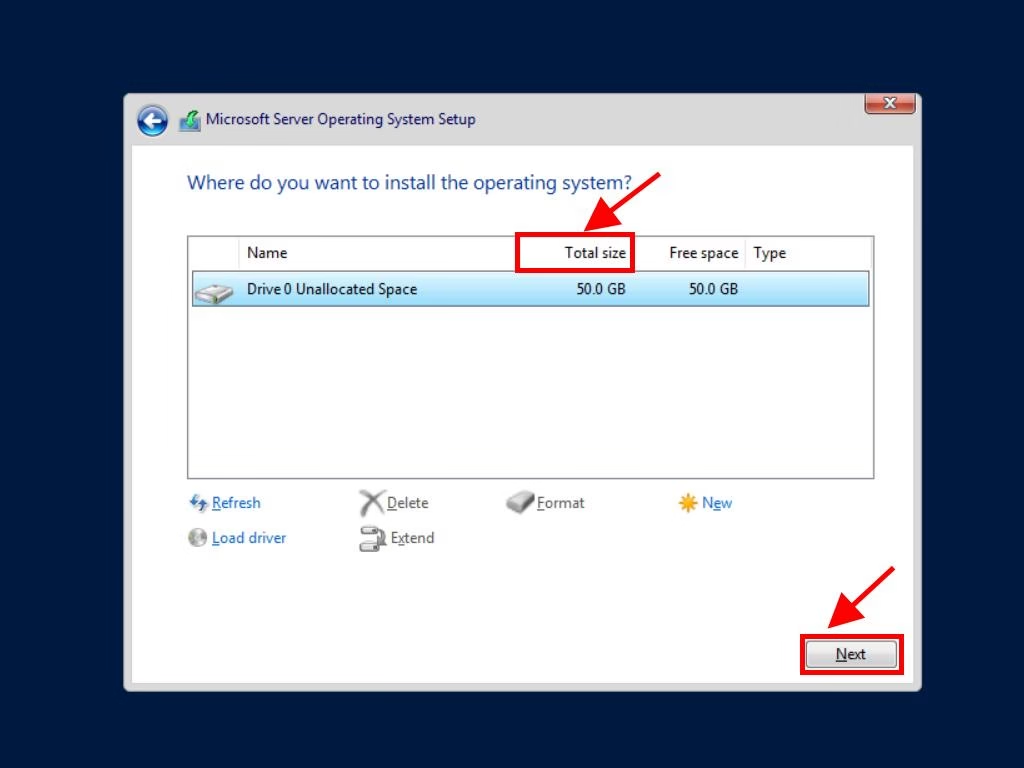
Partitioning Your Hard Drive
A clean install is also recommended, and when partitioning, organize your data to ease the process.
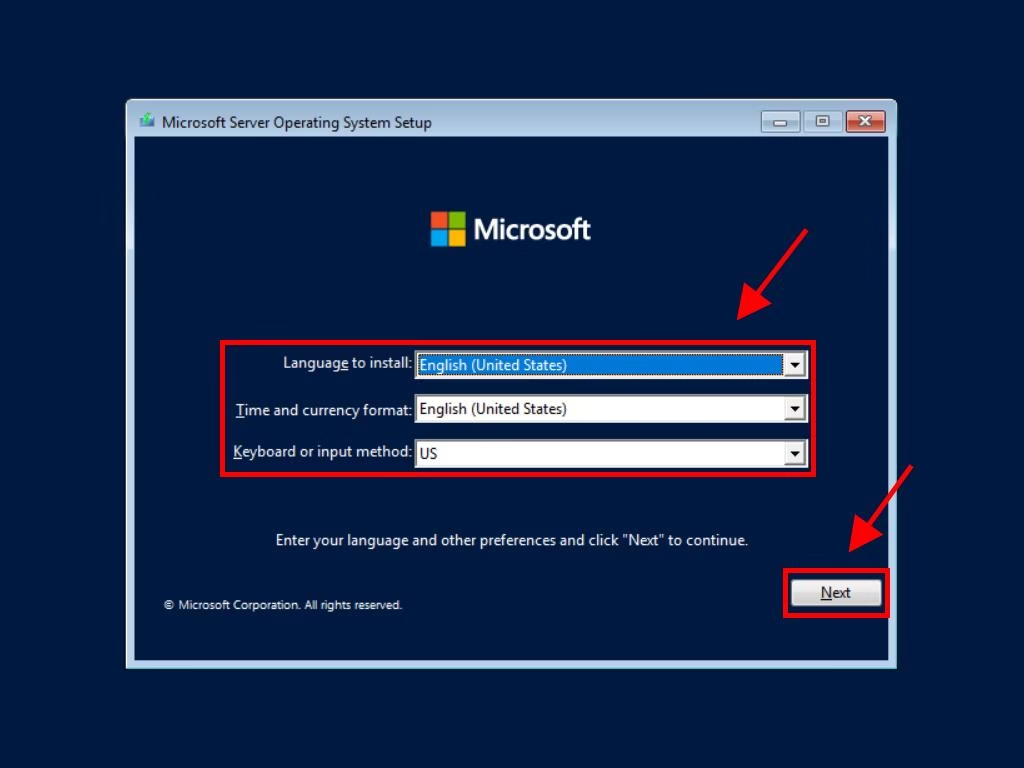
Step 6: Configure Installation Settings
In the setup process, common options are set.
Basic Settings
- Choose your preferred language, time zone, and keyboard.
Enter the Product Key
You have the option of typing in a valid Windows 11 product key now, or skip this part and activate later.
Choosing the Edition
Choose the edition you require operating (Home or Pro, for example).
Step 7: Follow Installation Prompts
Let the installer carry out its operation.
Waiting for Installation to Complete
It may take some minutes to install. Your system will shut down and restart several times.

Out-of-Box Experience (OOBE)
You will need to follow further instructions to enter details like your region and a network.
Step 8: Set Up Your Account
Customize the Windows 11 experience for yourself.
Microsoft Account vs Local Account
Choose sync with Microsoft account for using or other account for local use.
Configure Privacy Settings
Make changes to location, diagnostic, and advertising options.
Syncing Settings
Sync to transfer sets previous master volume and other apps.
Step 9: Install Updates and Drivers
To ensure your system has the best experience, seek to update it often.
Checking for Windows Updates
To update your device, go to Settings > Update & Security > Windows Update to download the latest updates.
Installing Essential Drivers
Check for the latest drivers for graphics, audio, and every other peripheral that you can find.
Rebooting the System
You must restart after installing updates to apply the changes.
Step 10: Personalize Your Windows 11 Experience
Make Windows 11 truly yours.
Windows Menu & Bar and Task Bar Customizations
Position apps, resize the Start menu, and provide access to the most frequently used items at the Taskbar.
Adjust Display Settings
Change or adjust the brightness level, size, and readability of text on your monitor.
Install Essential Apps
Install products such as word processors, MP3s, or any other software that you require using constantly.
Troubleshooting Common Issues
Encountering problems? Here’s how to fix them.
Errors During Installation
If problems occur, start over or get help if problems continue.
Compatibility Problems
Upgrade certain applications that do not support compatibility with the newer operating system, or drivershaarpermalink.
Rolling Back to Windows 10
Recovering options to Windows 10 needs to configure settings and passwords.
Conclusion
As demonstrated before, it is easy to install Windows 11 as long as you perform these steps. The fixes in the new operating system comprise provided functions, enhanced functionality, and protection, which makes Windows 11 should be considered. Upgrade today to experience the newer generation of computing.
FAQs
- Can I install Windows 11 on an unsupported PC?
Yes, but it is advisable not to do this because it involves overcoming some certain checks. - How long does the installation take?
The process usually takes about 20–30 minutes, depending on the speed of your PC. - Is a product key required to install Windows 11?
The product key is required for activation, while it is not required for use at the time of installation of the product. - What happens to my data during the installation?
If you upgrade, your data is still there, safe and sound, and ready to go. When performed, clean install removes all data from the system. - Can I roll back to Windows 10 after upgrading?
Yes, you can go back within 10 days through the recovery options and gain back all that is lost. - Do I need an internet connection to install Windows 11?
Supplemental information requires the Internet connection, as well as product activation.
Also Read

